Usage
You can interact with Rhasspy in more ways than your voice:
Web Interface
A browser-based interface for Rhasspy is available on port 12101 by default (http://localhost:12101 if running locally). From this interface, you can test voice commands, add new voice commands, re-train, and edit your profile.
Top Bar
The top bar of the web interface lets you perform some global actions on Rhasspy, regardless of which tab you have selected.

- Click the Rhasspy logo to reload the page
- Click the version number to test the HTTP API
- The green
Trainbutton will re-train your profile- Use the
Clear Cachedrop down to train from scratch
- Use the
- The yellow
Wakebutton will wake Rhasspy up and start listening for a voice command - The red
Restartbutton forces Rhasspy to restart
Speech Tab
Test voice and text commands.
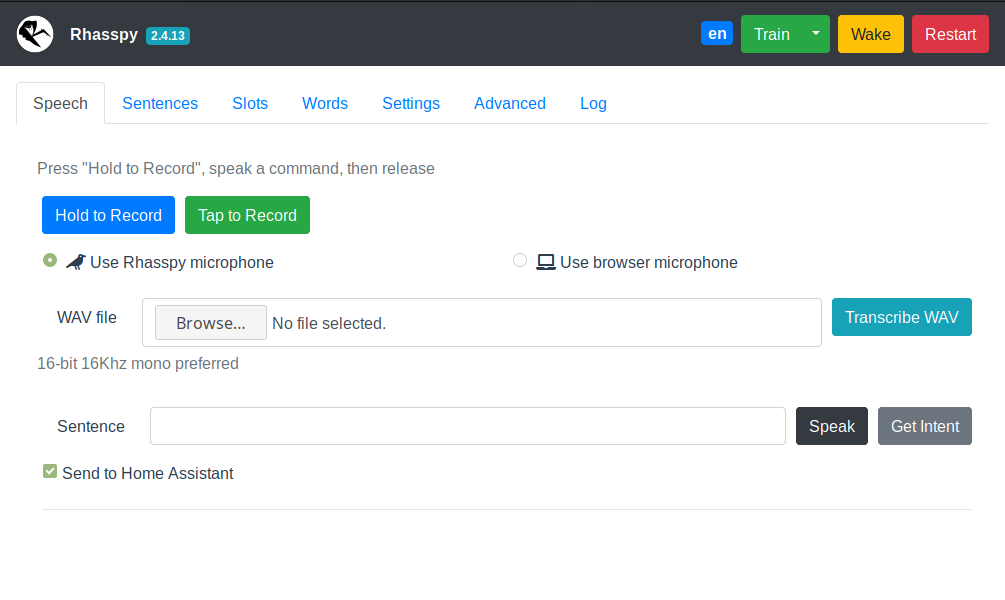
- Record a voice command with
Hold to RecordorTap to Record - Upload a WAV file with a voice command
- Enter a text command and either execute it (
Get Intent) orSpeakthe sentence - Uncheck
Send to Home Assistantif you don’t want Rhasspy to send events to Home Assistant
Sentences Tab
Add new voice commands to Rhasspy using the template syntax.
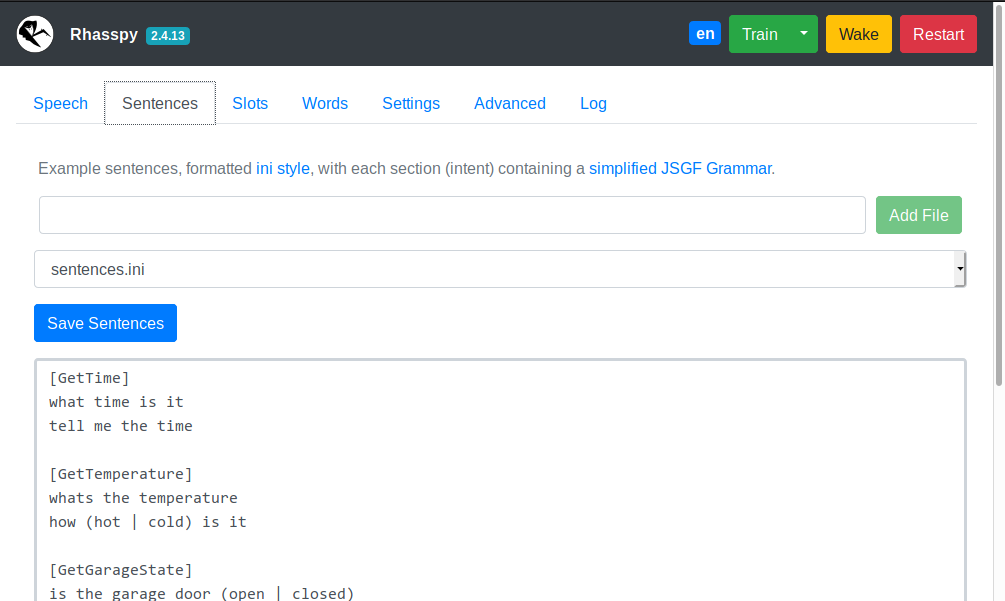
- Edits
sentences.iniby default - Use the
Add Filebutton to create additional sentence template files- These should be prefixed by the
sentences_dirin your profile. For example,intents/more-commands.ini
- These should be prefixed by the
- The drop down can be used to switch editing between different template files
Slots Tab
Edit your slots lists as JSON (keys = slot names, values = lists of slot values).
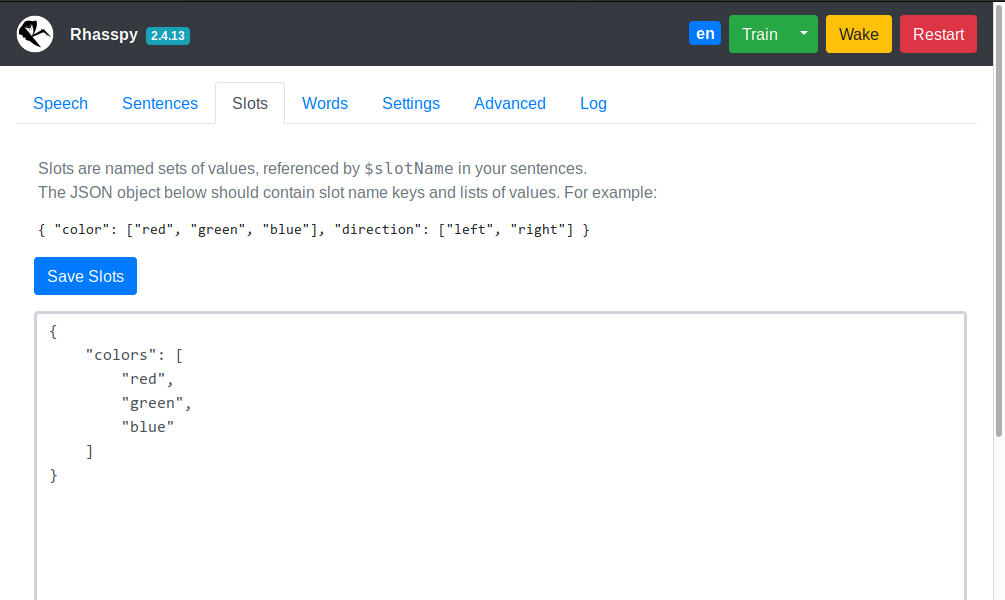
- New slot values will overwrite previous ones
- Delete a slot by providing an empty list for its JSON key
Words Tab
Teach Rhasspy how to pronounce new words.
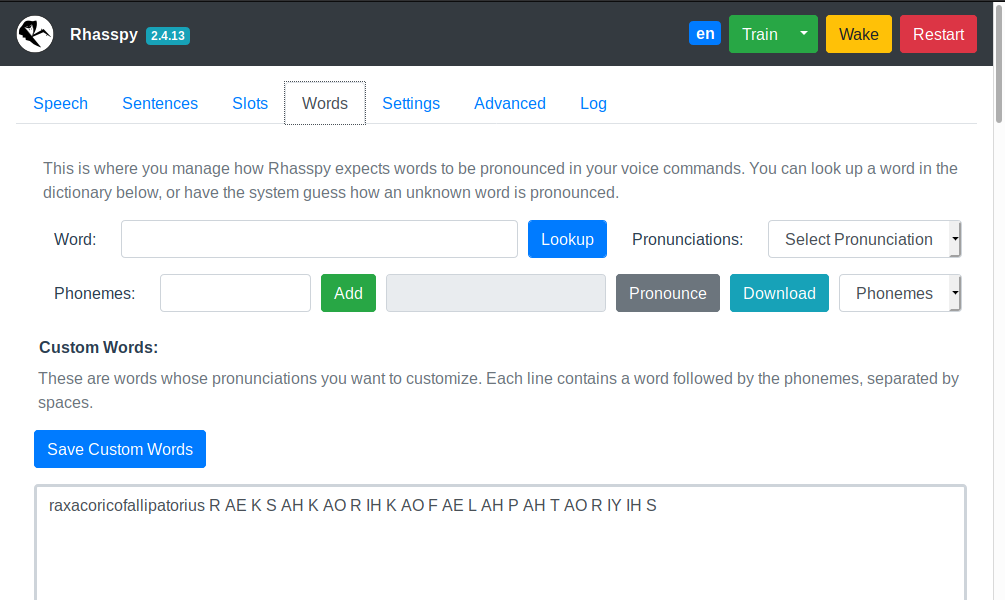
- Look up pronunciation(s) for known words (in your profile’s
base_dictionary.txtfile) - Have Rhasspy guess how to pronounce a new (unknown) word
- Pronounce the current word or download a WAV file of it
- Add new words to your
custom_words.txtfile - Shows words that Rhasspy doesn’t know (when training fails)
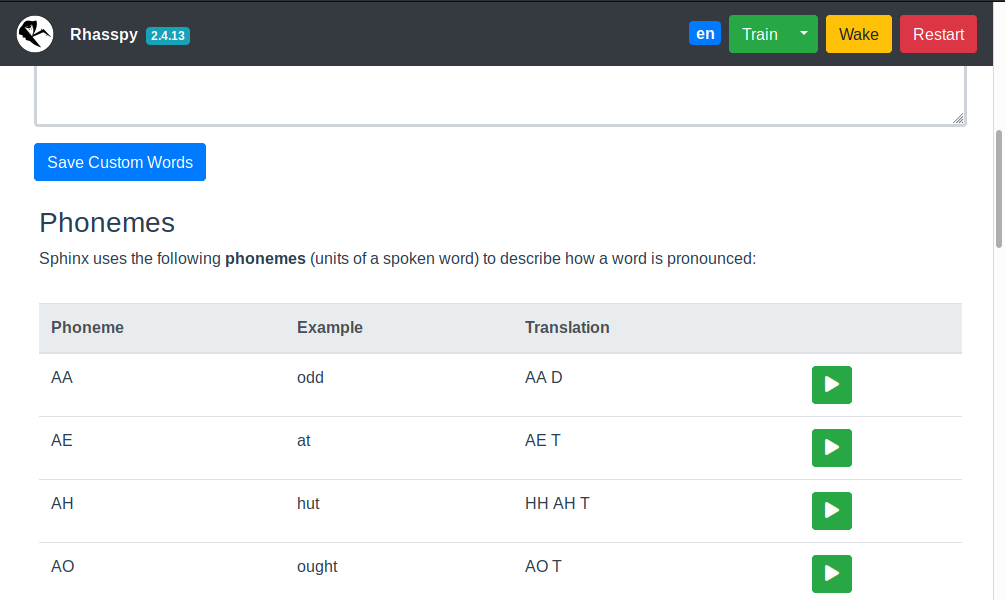
Table of examples for each phoneme in your profile language. Use this when constructing pronunciations for custom words.
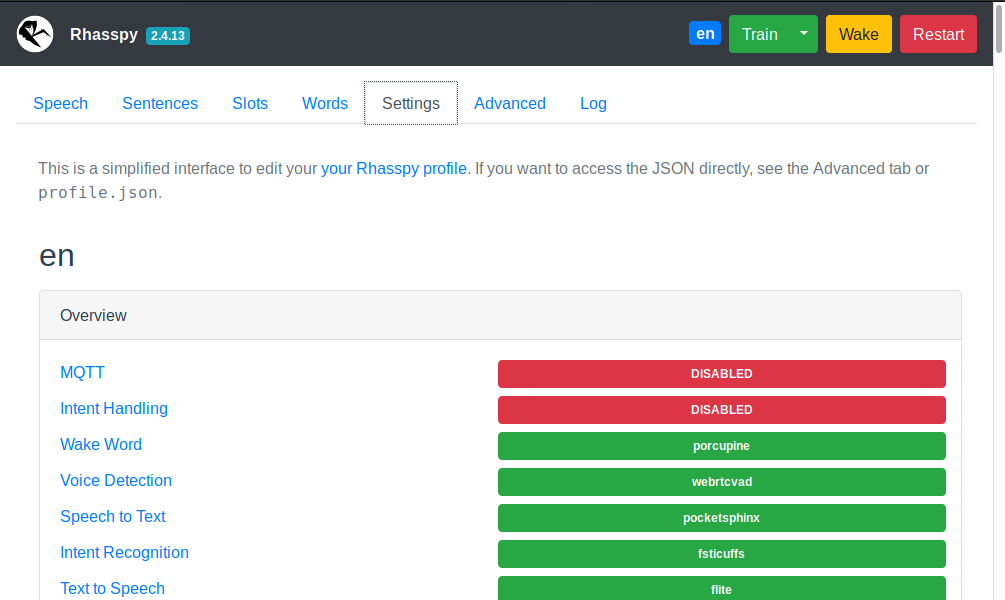
Settings Tab
Simplified interface for editing your profile. Make sure to restart Rhasspy after saving changes.
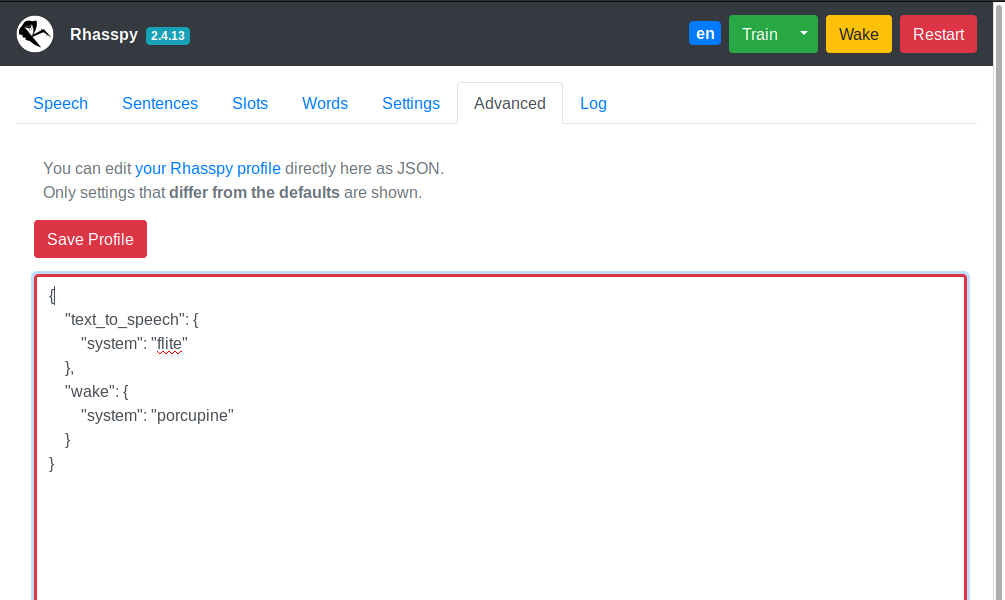
Advanced Tab
Direct interface for editing your profile. Be careful! Entering invalid settings here can cause Rhasspy to not start.
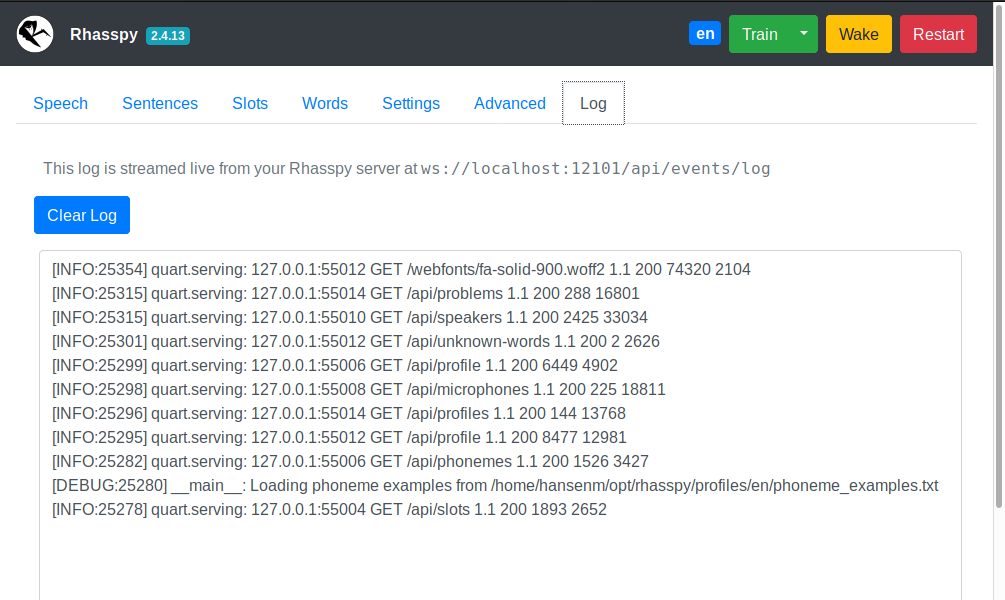
Log Tab
Streams Rhasspy’s log output over a websocket.
Home Assistant
Rhasspy communicates with Home Assistant directly over its REST API. Specifically, Rhasspy intents are POST-ed to the events endpoint.
If you have a Rhasspy intent named ChangeLightColor with name and color slots like in the RGB light example, then Home Assistant will receive an event of type rhasspy_ChangeLightColor whose event data is:
{
  "name": "bedroom",
  "color": "red"
}
when you say “set the bedroom to red”. You should write a custom automation with an event trigger to do something when this event arrives. Catching the example event would look like:
automation:
  trigger:
    platform: event
    event_type: rhasspy_ChangeLightColor
    event_data:
      color: red
  action:
    ...
You’ve now added offline, private voice commands to your Home Assistant. Happy automating!
Getting the Spoken Text
The Home Assistant event will contain two extra slots besides the ones you specify:
_text- spoken voice command text with substitutions_raw_text- literal transcription of voice command
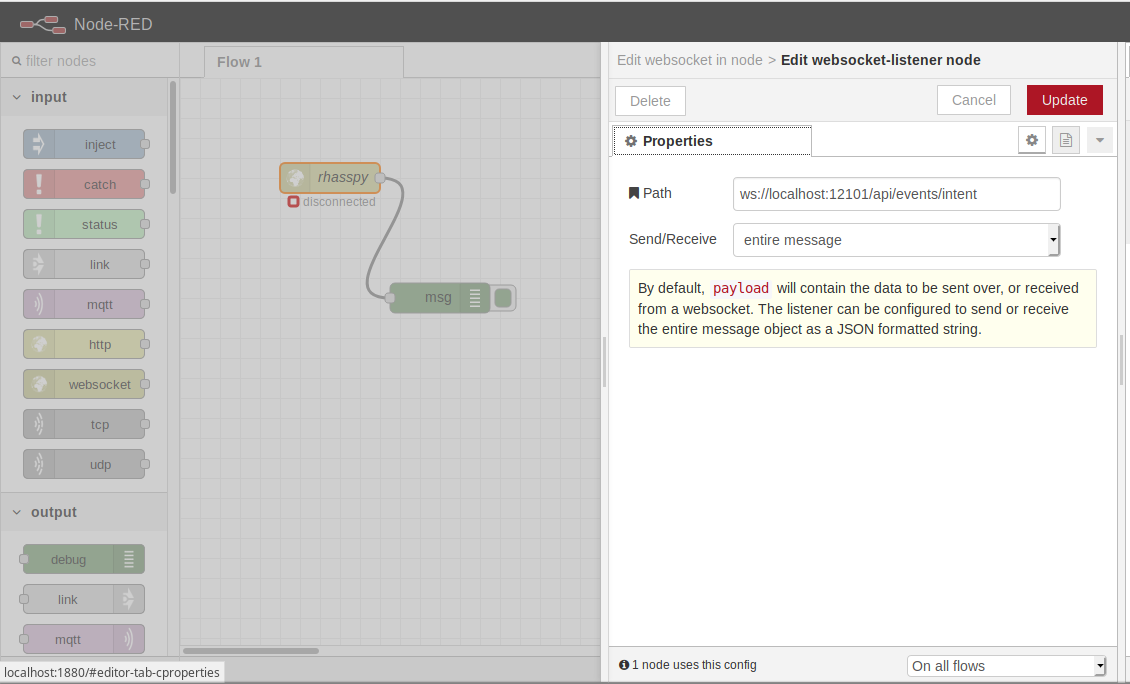
Node-RED
Rhasspy can interact directly with Node-RED directly through websockets.
Simply add a websocket input and set the path to ws://<rhasspy>:12101/api/events/intent where <rhasspy> is the hostname or IP address of your Rhasspy server.
Make sure to also set send/receive to “entire message”.
More example flows are available on Github.
WebSocket Events
Whenever a voice command is recognized, Rhasspy emits JSON events over a websocket connection available at ws://rhasspy:12101/api/events/intent (replace ws:// with wss:// if you’re using secure hosting).
You can listen to these events in a Node-RED flow, and easily add offline, private voice commands to your home automation set up!
For the ChangLightState intent from the RGB Light Example, Rhasspy will emit a JSON event like this over the websocket:
{
  "text": "set the bedroom light to red",
  "intent": {
    "name": "ChangeLightColor",
    "confidence": 1
  },
  "entities": [
    {
      "entity": "name",
      "value": "bedroom"
    },
    {
      "entity": "color",
      "value": "red"
    }
  ],
  "slots": {
    "name": "bedroom",
    "color": "red"
  }
}
MQTT and Snips
Rhasspy is able to interoperate with Snips.AI services using the Hermes protocol over MQTT. The following components are Snips/Hermes compatible:
HTTP API
Rhasspy features a comprehensive HTTP API available at /api/, documented with OpenAPI 3 (Swagger). See the HTTP API reference for more details.
Secure Hosting with HTTPS
If you need to access Rhasspy’s web interface/API through HTTPS (formally SSL), you can provide a certificate and key file via command-line parameters or the Hass.io configuration.
If you’re running Rhasspy via Docker or in a virtual environment, add --ssl <CERT_FILE> <KEY_FILE> to the command-line arguments where <CERT_FILE> is your SSL certificate and <KEY_FILE> is your SSL key file.
You can generate a self-signed certificate with the following command:
openssl req -x509 -newkey rsa:4096 -nodes -out cert.pem -keyout key.pem -days 365
After answering the series of questions, you should have cert.pem and key.pem in your current directory. Then run Rhasspy with:
<RHASSPY COMMAND> --ssl cert.pem key.pem
The web interface will now be available at https://localhost:12101 and the web socket events at wss://localhost:12101/api/events/intent
In Hass.io, you will need to set the following options via the web interface or in your JSON configuration:
ssl:truecertfile:cert.pemkeyfile:key.pem
Command Line
You can access portions of Rhasspy’s functionality without running a web server through the command-line interface.
The rhasspy Python module runs this interface in its __main__, so it’s accessible from Rhasspy’s source code directory by running:
python3 -m rhasspy <COMMAND> <ARGUMENTS>
This will only work inside a properly set up virtual environment, however. If you run Rhasspy through Docker, the rhasspy-cli script should be used instead:
wget https://github.com/synesthesiam/rhasspy/blob/master/bin/rhasspy-cli
chmod +x rhasspy-cli
./rhasspy-cli --help
Put this script in your ~/bin directory so that you can refer to it as rhasspy-cli from any directory.
By default, it will look for profiles in $XDG_CONFIG_FILE/rhasspy/profiles, which is probably ~/.config/rhasspy/profiles (see XDG specification for more information).
Beware: the rhasspy-cli script runs under your user account and grants Rhasspy write access to your home directory.
This is needed to save files during the training process, and to avoid those files being owned by root.
The rhasspy-cli-ro script can be used for read only operations, such as speech to text or intent handling, but cannot make any changes to your file system.
Top-Level Arguments
The rhasspy-cli script takes a command and a set of arguments:
rhasspy-cli --profile <PROFILE_NAME> <COMMAND> <ARGUMENTS>
Adding --debug before the command will print additional information to the console:
rhasspy-cli --debug --profile <PROFILE_NAME> <COMMAND> <ARGUMENTS>
You can override profile settings with --set like this:
rhasspy-cli --profile <PROFILE_NAME> --set <SETTING_NAME> <SETTING_VALUE> ... <COMMAND> <ARGUMENTS>
See the command-line reference for available commands.